


I wanted to make my Granddaughter a purse for her birthday. I wanted something simple, but with sturdy handles. I first made one for myself with this design, but will make hers smaller. This uses re-purposed handles from 5 gallon jugs.
Materials and Tools

Materials
(2) Handles from 5 - gallon jugs
Duct tape
Fabric (approximately 1/2 yard each of 2 fabrics)
Thread to match the fabric
(2) Handles from 5 - gallon jugs
Duct tape
Fabric (approximately 1/2 yard each of 2 fabrics)
Thread to match the fabric

Tools
Hacksaw
Utility knife
File (optional)
Sewing machine
Iron
Scissors
Straight pins
Hacksaw
Utility knife
File (optional)
Sewing machine
Iron
Scissors
Straight pins
Prepare handles

This is the type of 5 gallon jug I'm using.
Use a utility knife to cut the pin connecting the handle on one side and remove it from the jug.

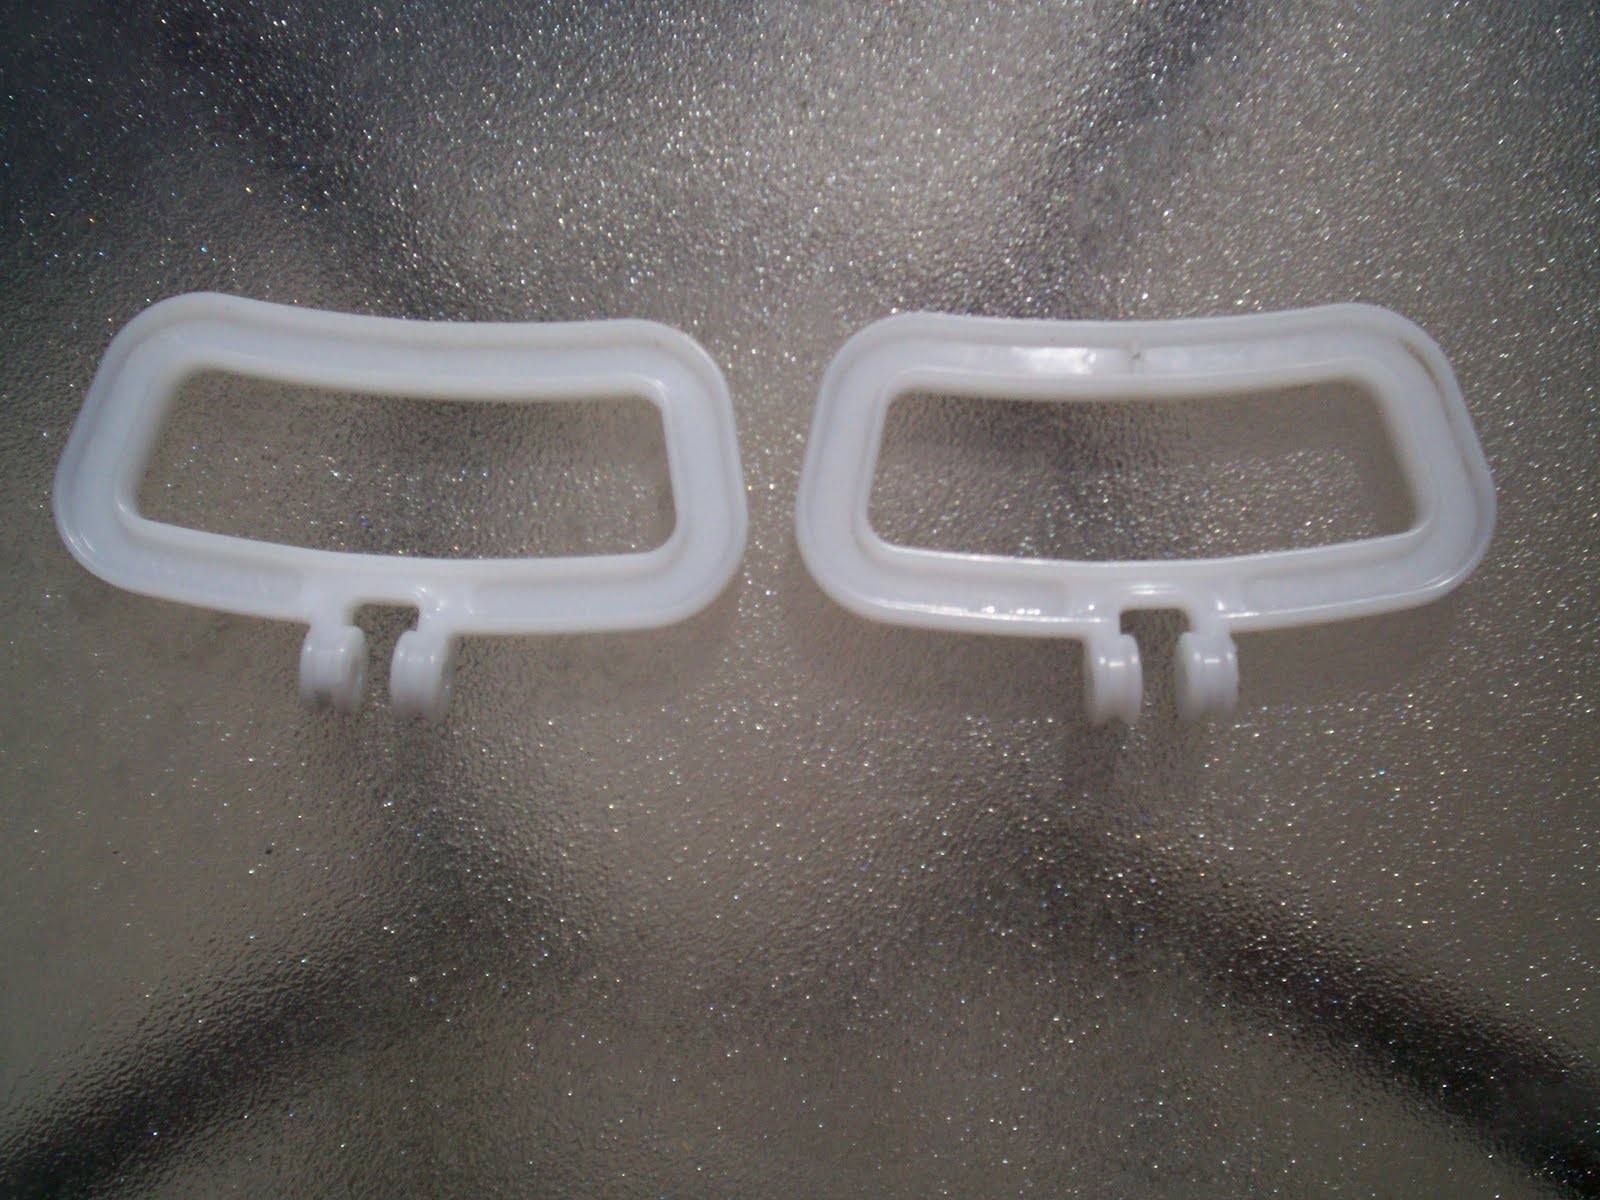
Cut off the round hinges with a hacksaw.

Cut about 1/8" out of the center of the bottom of the handle. Clean this up to make it fairly smooth with a utility knife or file.

Pattern
This is the design I used for this handbag.
The pattern fits an 8 1/2 X 11 piece of paper.
The pattern fits an 8 1/2 X 11 piece of paper.

Cut Fabric

Cut out (2) of each, outer fabric and lining, following the pattern.
Sew top seam

Put (1) outer piece and (1) lining right sides together and sew a 1/4" seam across the top. I always double seam except for topstitching.
Press open the seam, turn right side out and press down fold on seam. This makes for a crisp fold, with the seam in the middle.
Press open the seam, turn right side out and press down fold on seam. This makes for a crisp fold, with the seam in the middle.

On the wrong side, fold over 1/4" on the straight edge at the top and press down.

Topstitch close to the edge from where it starts to slant to the other slant.
You can click on the picture to make them bigger, if you can't see what I've done.

Making the handle casing
Fold the tails in and fold at the top seam wrong sides together. Pin in place and sew a casing 1" down from the top.


Press out any creases in the body at this time.
Sewing the body

Pin the handbag right sides together, like fabrics together. Sew 1/4" from the line at the top of the pattern (where the topstitching ends), all around to the other side to the line on that side on the outerfabric.

Do the same on the lining, except,leave an opening at the bottom to turn.
BE SURE TO MOVE THE CASING OUT OF THE WAY OF YOUR SEWING. MOVE IT SIDE TO SIDE INSIDE.
BE SURE TO MOVE THE CASING OUT OF THE WAY OF YOUR SEWING. MOVE IT SIDE TO SIDE INSIDE.
Clip the curves at bout 1" intervals and clip where the slanted part meets the straight part at the top.
Turning the piece

Turn the handbag right side out through the opening at the bottom of the lining and handstitch the opening closed.

Push the lining into the outer piece and push out all the curves.
You could probably press the handbag at this point.
You could probably press the handbag at this point.
Attaching the handles

Take the handles that you've prepared and thread the casing onto one side of the slit.

Cut a 3" piece of duct tape and tape up the opening in the bottom of the handle.

Slide the casing back evenly over the bottom of the handle.

Repeat with the other handle.

TA DA!
No comments:
Post a Comment